Celebrating spring with a craft that highlights two things Grabbits love — cleaning and reinvention!
As the story goes, “Toys and clothes that seemed forsaken, find new life when Grabbits take them.”
In this Grabbits-inspired activity, cleaning out old crayons helps them find new life. No Grabbits needed — just grab a grown-up, a junk box of old crayons, and a silicone mold.
For best results, check out what I did below, plan your steps, and brainstorm safety considerations like having pot holders on hand, setting a timer, and using an oven with a fan that vents to the outside. (I didn’t notice any fumes, but safety first! Who knows what comes off heated crayons, so why not err on the side of caution?)
The silicone mold I used is available here, along with the manufacturer’s instructions for making molded crayons. As with any craft, be sure to refer to the instructions that come with your equipment and exercise your own judgement to keep the fun safe. Here’s what I did…
Step 1: Unwrap!
Easiest to soak the paper off, but I had a hard time letting go of my childhood crayons, so I enjoyed revisiting my memories of each color as I read its name and peeled its wrapper.
Step 2: Chunk!
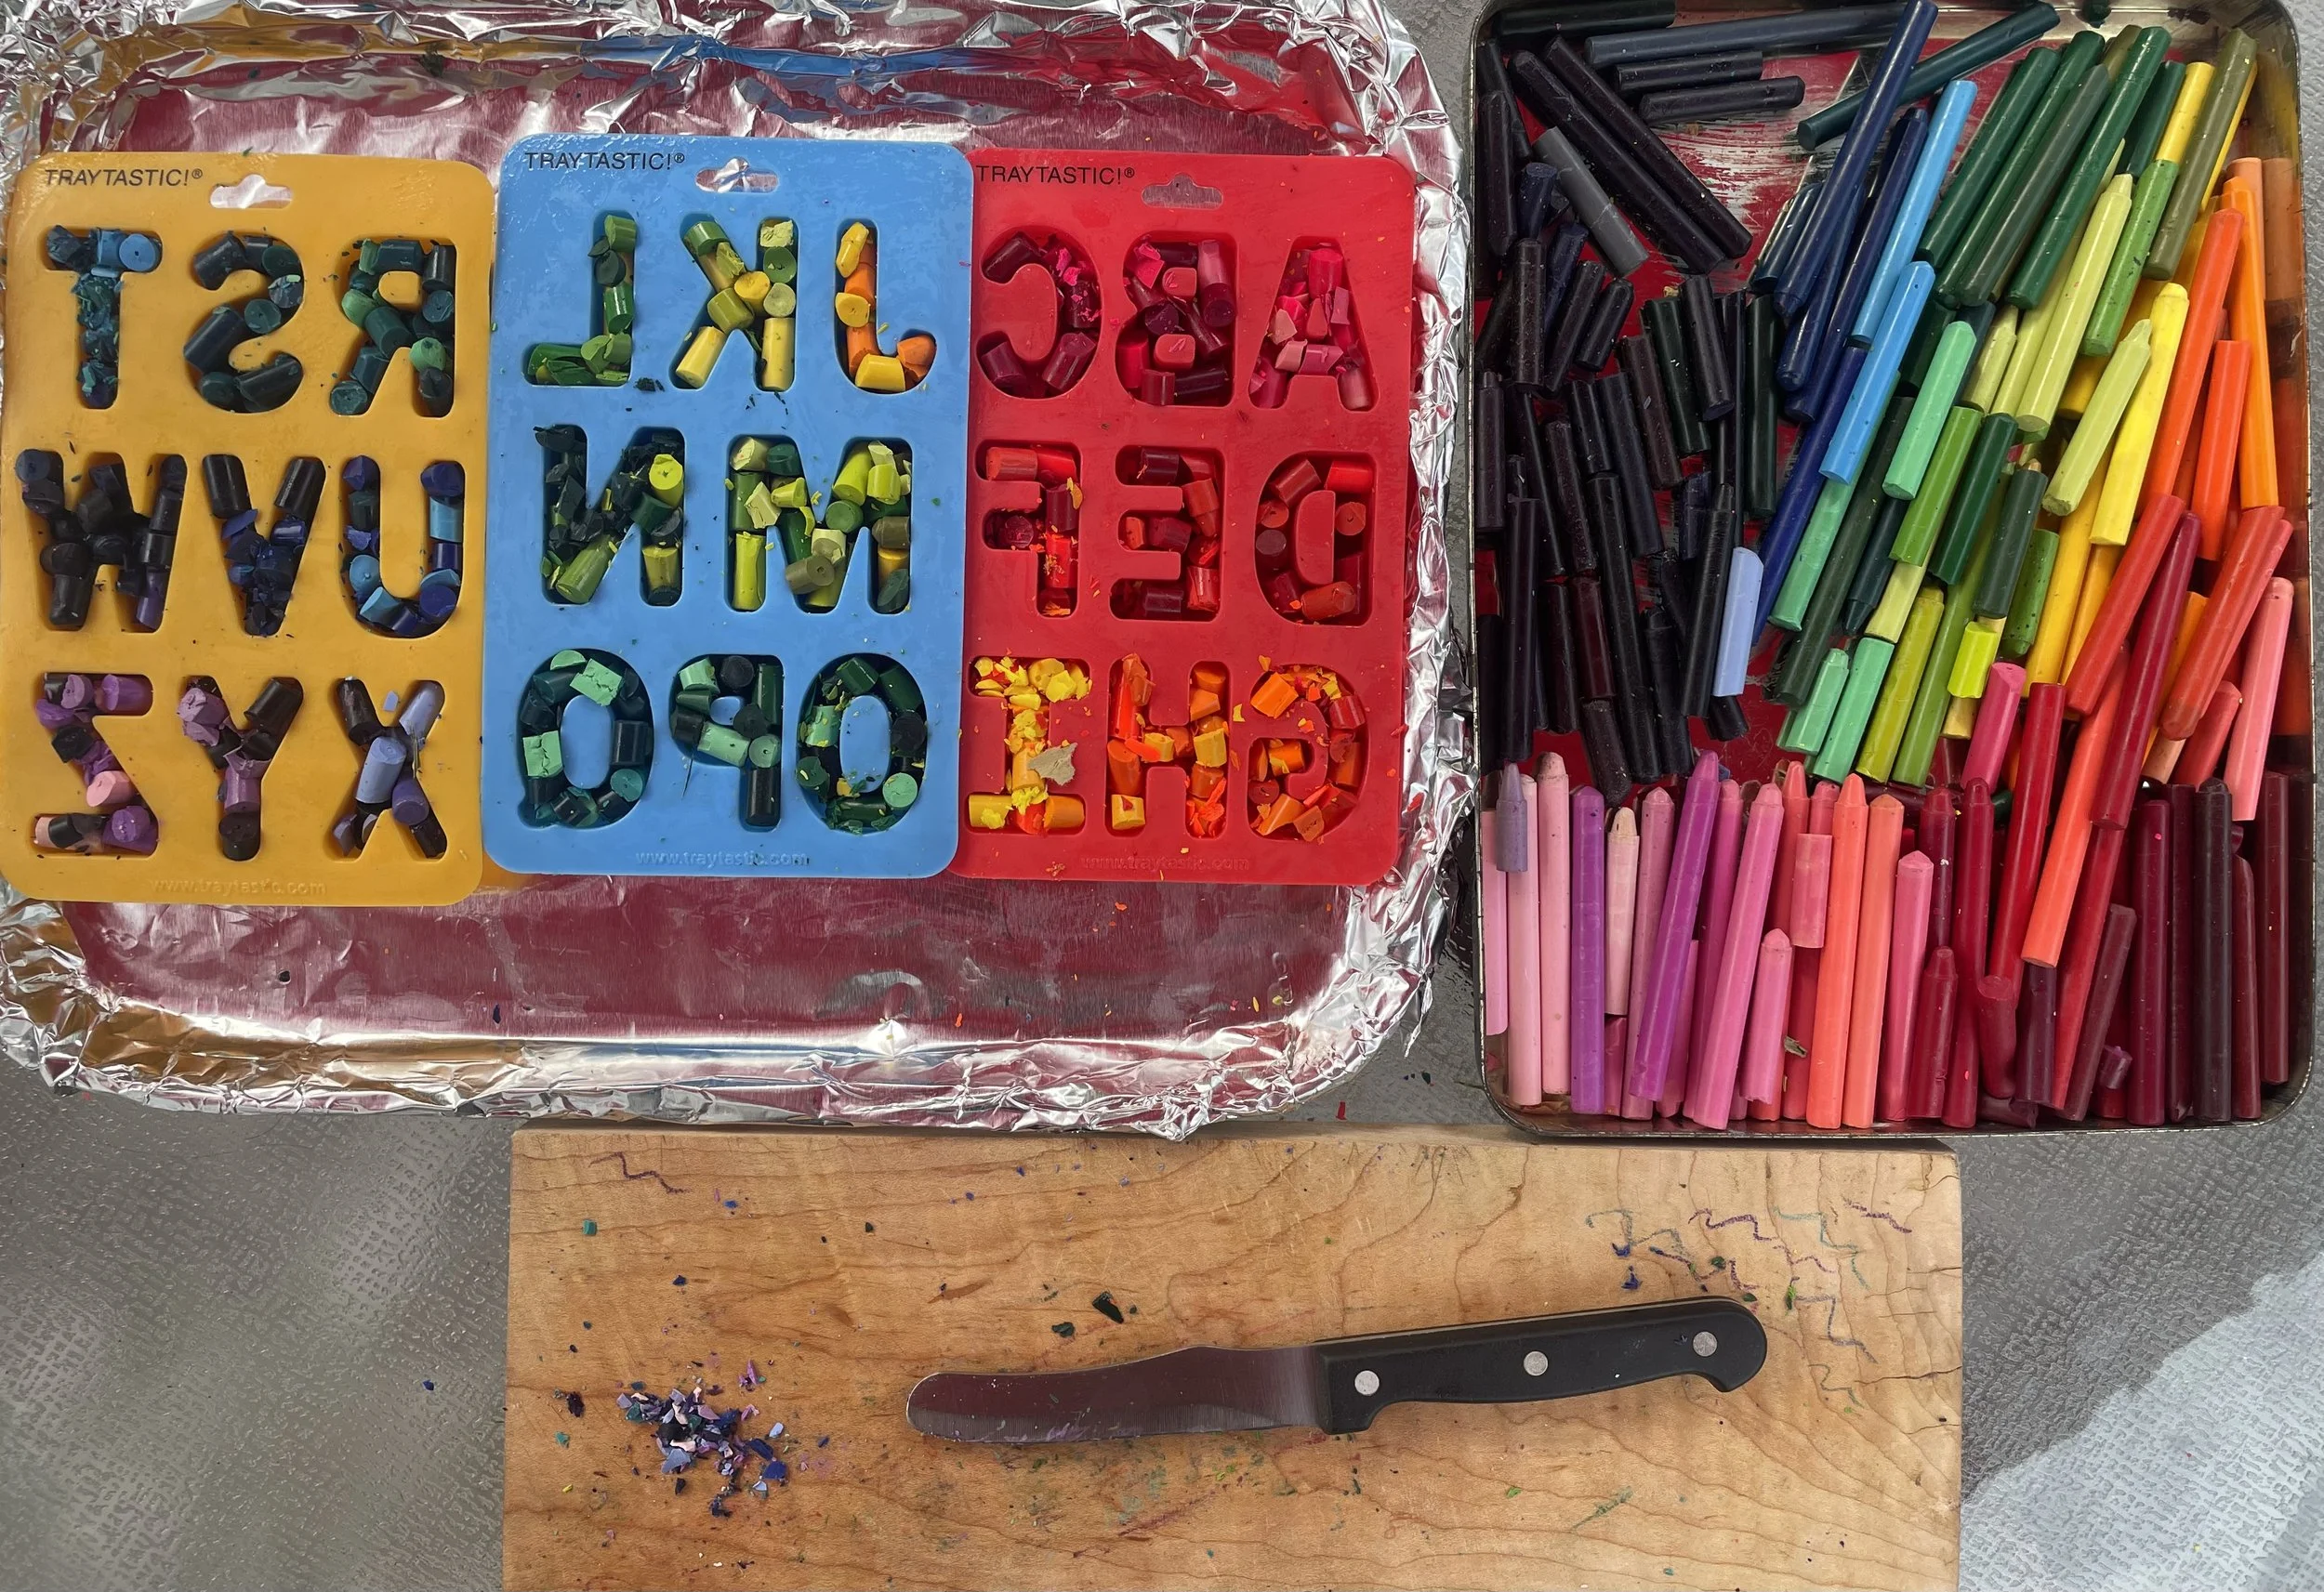
Working outside to minimize mess, I cut the crayons into .25” chunks and filled in gaps with smaller pieces and crumbles. Definitely use tools you don’t care about.
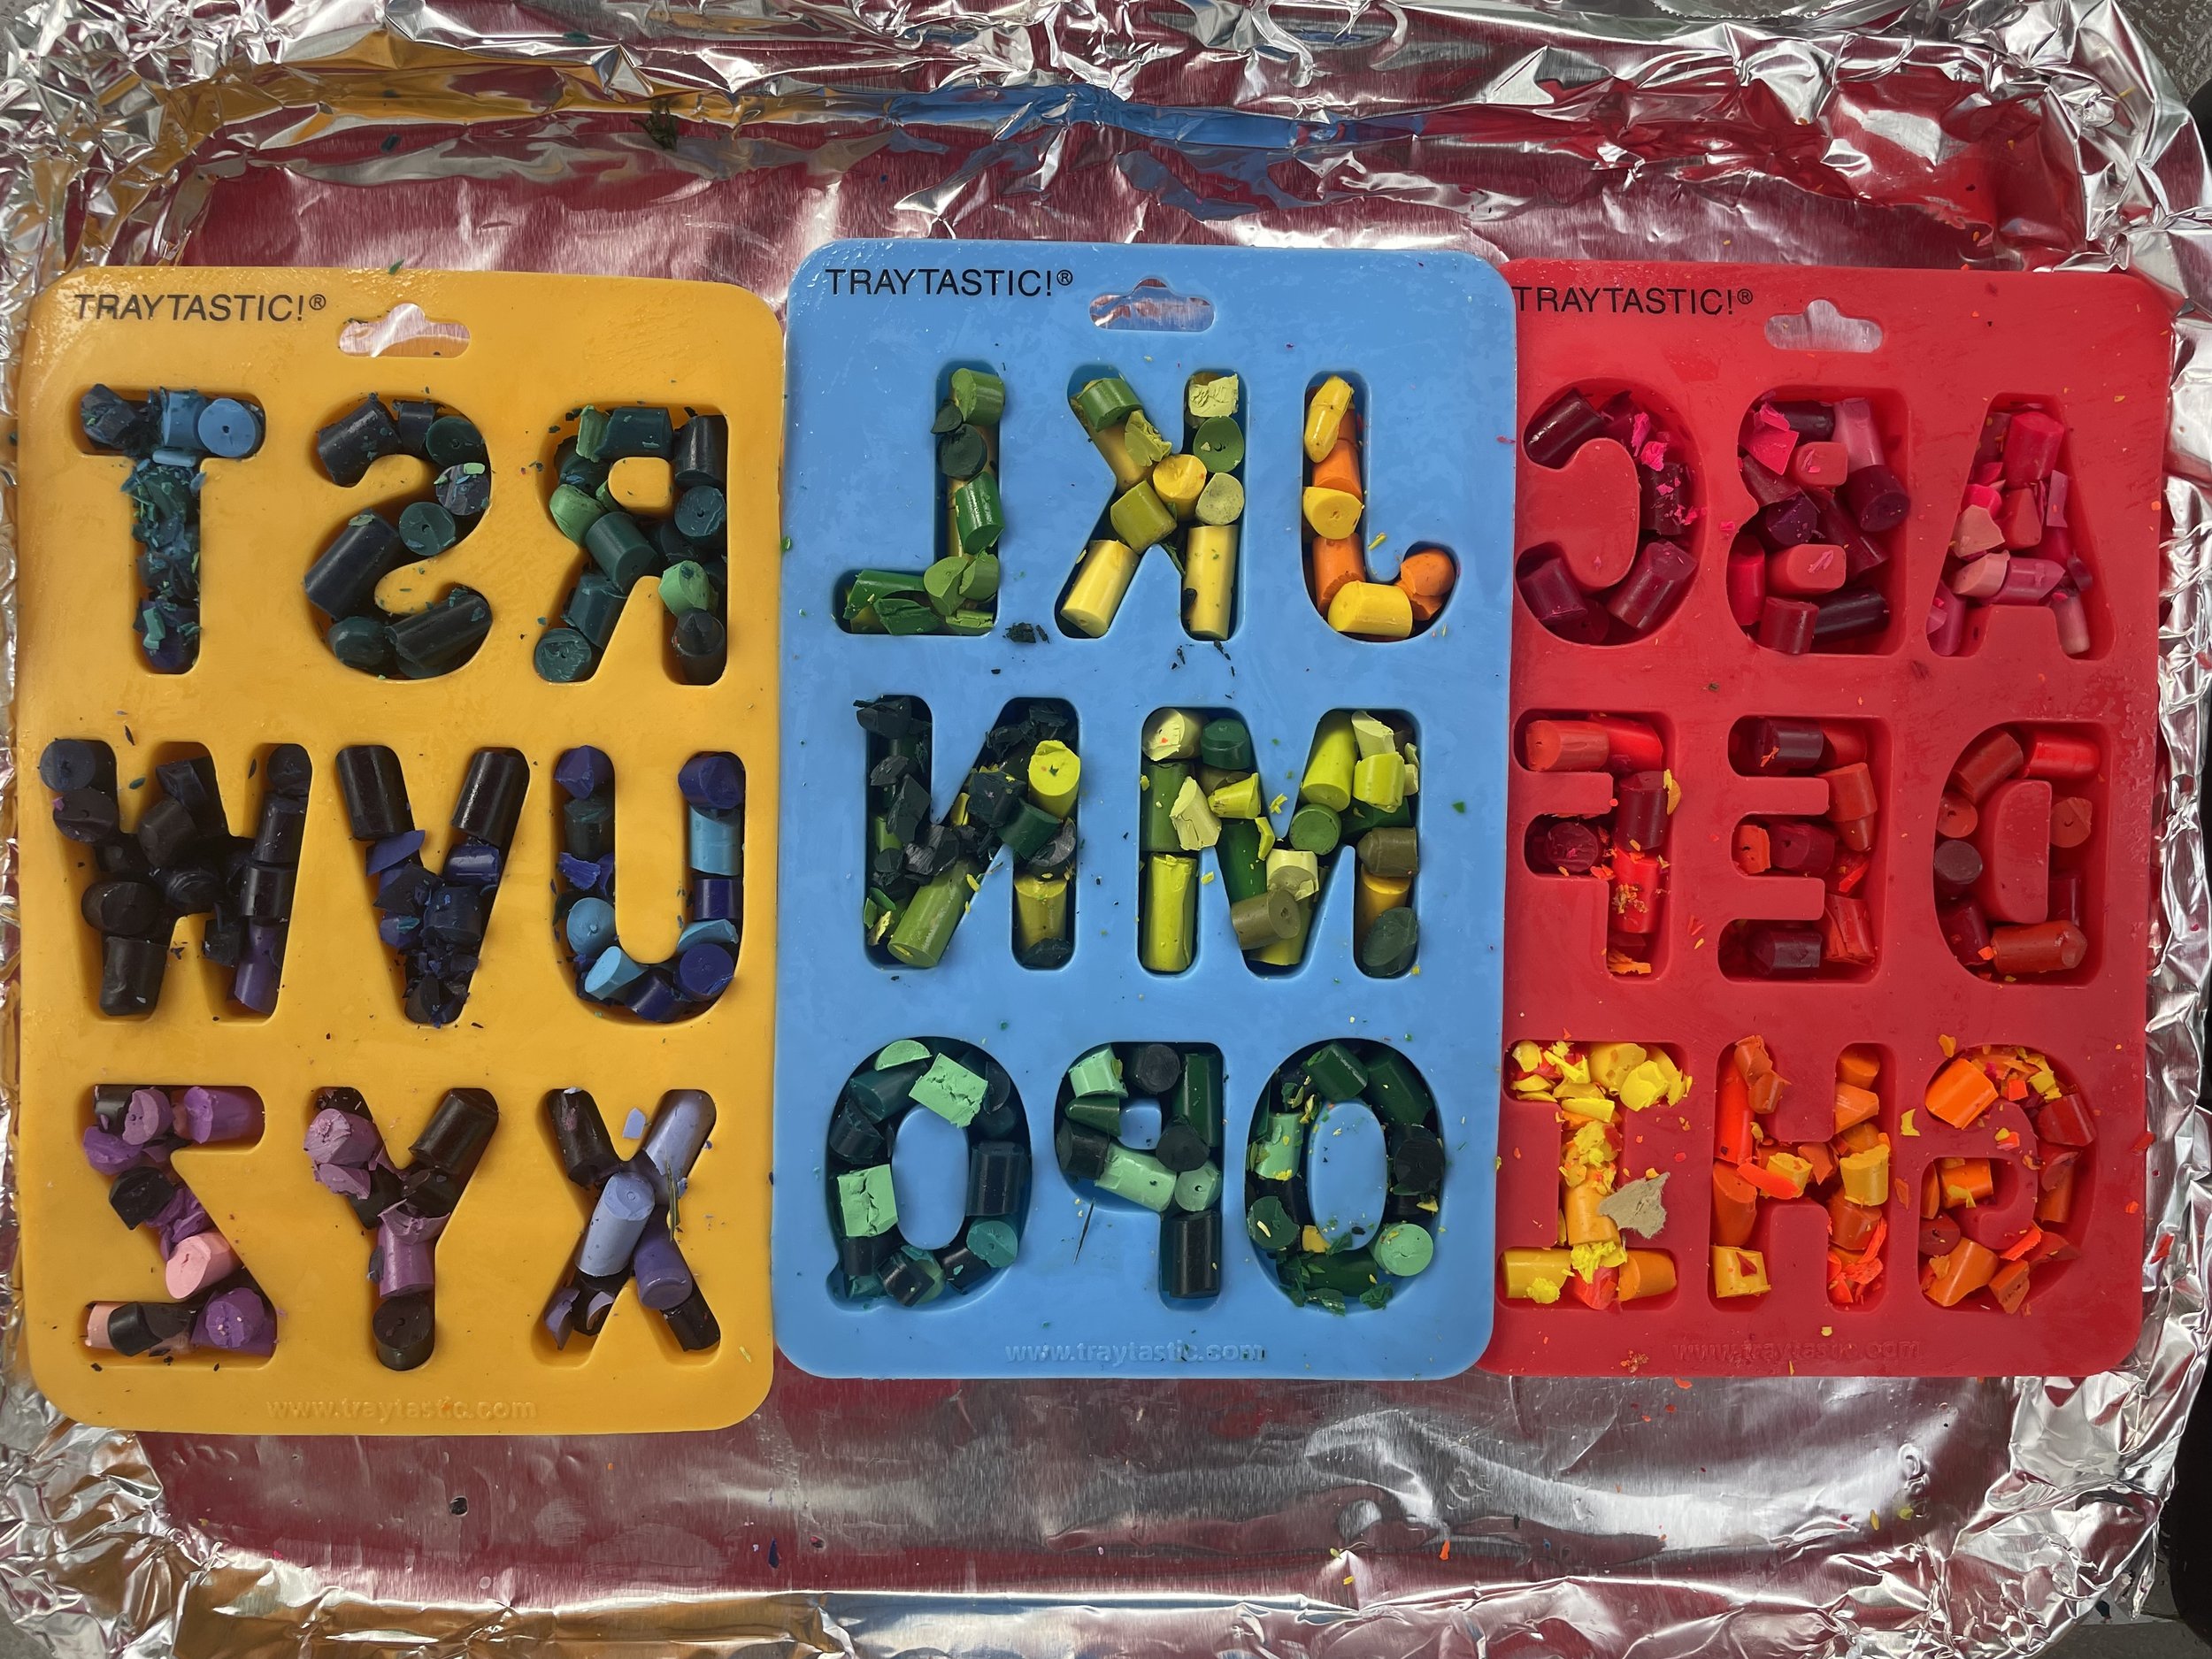
Step 3: Fill and bake!
Filled the molds to the top and found the crayons shrank by 25% after melting. Baked at 200º on a foil-lined tray for 14 min, then raised the temp to 225º because I was impatient. Continued for three rounds of 4 minutes. Crayons can burn, so definitely use a timer and watch them carefully!
Step 4: Wait…wait…release!
Total bake time came to about 22 minutes, and I still had to loosen a few chunks with a toothpick after taking them out. The crayons will look translucent while hot.
The hardest part was waiting for them to cool completely. Give it a few hours or overnight. Then gently stretch the silicone in different directions to loosen before pressing each individual letter up and out. Work gently to avoid cracking the crayons. Patience pays off!
Here they are! I organized the alphabet in rainbow order and grouped the colors by hue and temperature to fill each letter, but options for creativity are endless! Seeing the results, I’d add more contrasting shades within a letter to get more variation when drawing with multiple edges at one time.
Feel inspired to make your own crayons? Tag @thegrabbits on Instagram or post your pics on The Grabbits FB page to show off your results! Or, as always, feel free to email hello@zeitkite.com to share what you’ve been up to!


